Selling on Flipkart offers a great opportunity for businesses to reach millions of customers across India. With its vast marketplace, Flipkart allows both small and large businesses to expand their reach and grow their sales. The Flipkart Seller Login portal is where sellers can manage their listings, track orders, and access various tools to help their business thrive. In this article, we will walk you through the Flipkart Seller login process, how to register as a new seller, and tips on managing your Flipkart Seller account effectively.
Why Sell on Flipkart?
Before we dive into the login process, here are some reasons why selling on Flipkart can be a profitable move for your business:
- Huge Customer Base: Flipkart is one of the leading e-commerce platforms in India, providing access to millions of customers across the country.
- Low Initial Investment: You can start selling with minimal costs, making it easy for new businesses and entrepreneurs to enter the market.
- Seller Support: Flipkart offers seller support, logistics solutions, and marketing tools to help businesses grow.
- Secure Payments: Flipkart ensures timely and secure payments for all sellers, reducing the risks of delayed payments.
How to Register as a Flipkart Seller
Before you can log in to the Flipkart Seller portal, you need to register as a seller. Here’s how:
1. Visit the Flipkart Seller Registration Page
Go to the Flipkart Seller Hub by visiting seller.flipkart.com. This is where you can sign up as a new seller.
2. Enter Your Basic Details
To get started, you’ll need to provide some basic information like your:
- Email Address
- Mobile Number
- Business Name
- Pickup Address
Make sure your mobile number and email address are active, as these will be used for communication and login purposes.
3. Verify Your Mobile Number
Once you enter your mobile number, Flipkart will send a verification OTP (One-Time Password). Enter the OTP to verify your number.
4. Submit Business Documents
You will need to provide the following documents to complete the registration process:
- GSTIN (Goods and Services Tax Identification Number): Required for tax purposes.
- PAN Card: For identity verification.
- Bank Account Details: Where Flipkart will deposit your payments.
5. Activate Your Seller Account
After verifying your details and submitting the required documents, Flipkart will review your application. Once approved, you can start listing your products and selling on Flipkart.
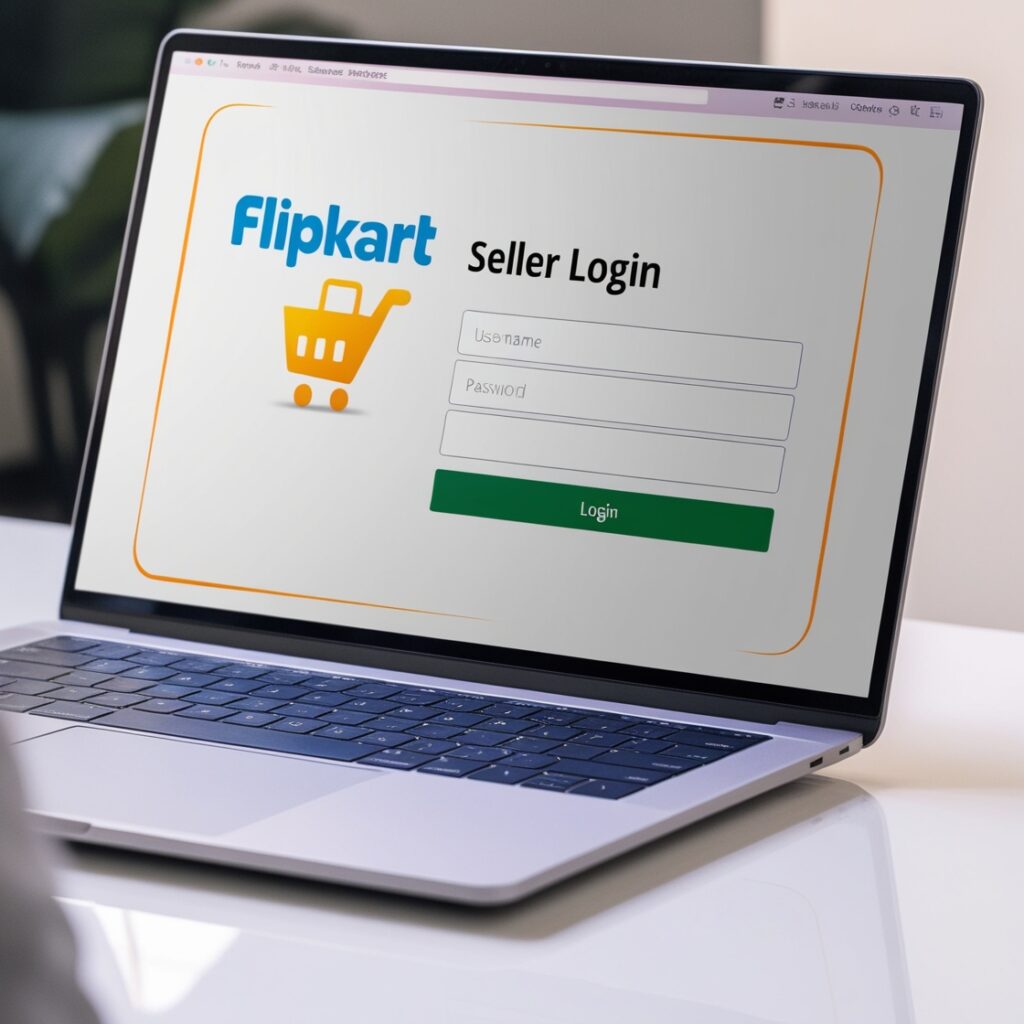
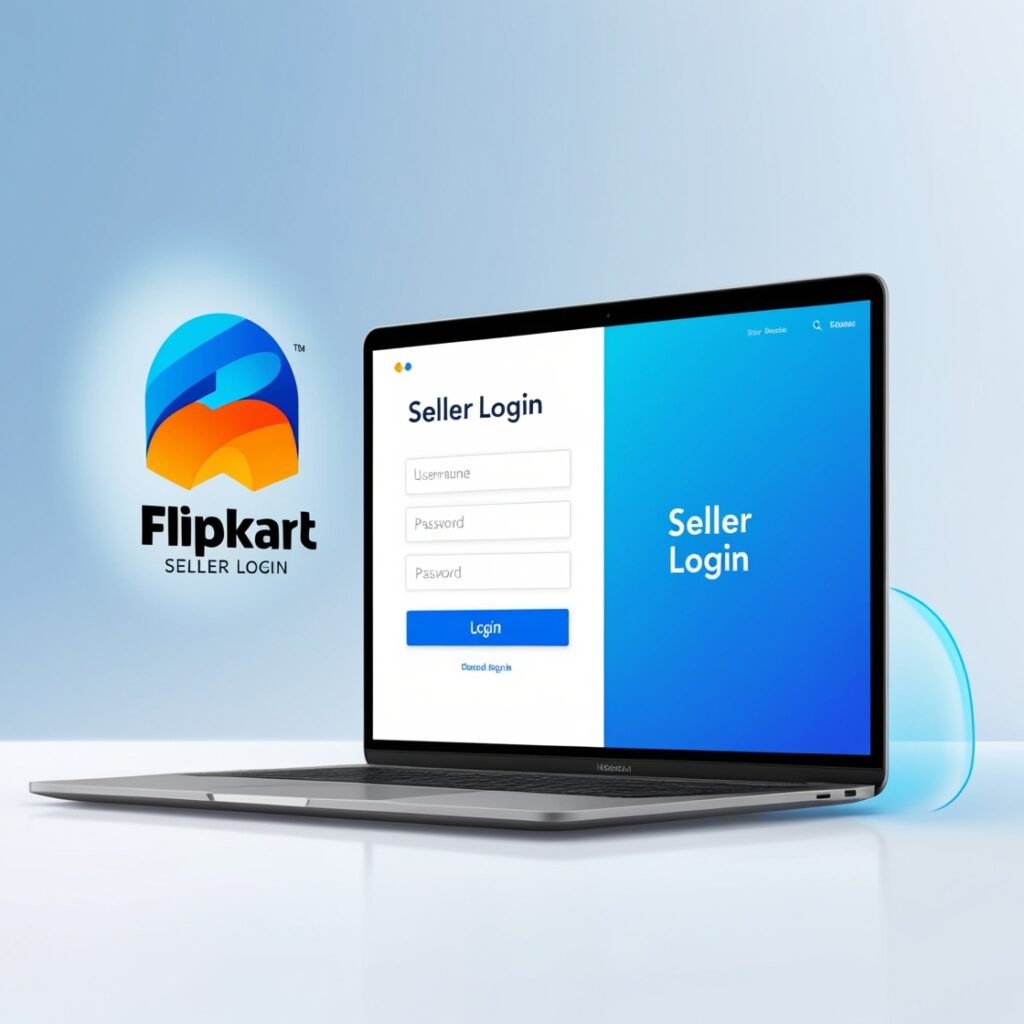
Flipkart Seller Login: Step-by-Step Guide
Once your seller account is set up, here’s how you can log in to the Flipkart Seller portal to manage your business:
1. Go to the Flipkart Seller Login Page
Navigate to the Flipkart Seller Hub at seller.flipkart.com Visit the website and select the “Login” option located in the upper-right corner of the page.
2. Enter Your Login Credentials
Use the email address or mobile number you provided during registration along with the password to log in to your account. If you have forgotten your password, there’s an option to reset it by clicking on Forgot Password.
3. Access Your Seller Dashboard
Once logged in, you will be taken to your Seller Dashboard. This is where you can:
- List new products
- Manage existing product listings
- Track and process orders
- Monitor sales and performance metrics
- Access marketing tools and insights
Managing Your Flipkart Seller Account
1. Listing Products
One of the first things you need to do after logging in is to list your products. Ensure your product titles, descriptions, and images are clear and optimized for better visibility in search results. Make use of relevant keywords in product titles and descriptions to enhance SEO on the Flipkart platform.
2. Managing Orders
Flipkart makes it easy to manage orders from the Orders section of the Seller Dashboard. Here you can:
- View new orders
- Pack and ship products
- Track shipping progress
It’s crucial to maintain timely deliveries to ensure a positive customer experience, which can boost your seller ratings.
3. Handling Returns and Refunds
Returns and refunds are an essential part of online selling. From the dashboard, you can manage return requests and resolve customer disputes efficiently.
4. Track Sales Performance
Use the analytics tools provided by Flipkart to monitor your sales, traffic, and customer behavior. By understanding how your products are performing, you can make informed decisions about pricing, marketing, and inventory management.
5. Participating in Sales and Promotions
Flipkart frequently runs sales events like the Big Billion Days Sale, during which you can increase your product visibility and sales. As a seller, you can participate in these sales by offering discounts, deals, and special promotions.
Flipkart Seller Support and Resources
Flipkart provides extensive support to its sellers through various channels:
- Seller Support: Contact the support team for help with technical or business-related queries.
- Seller Learning Center: Offers tutorials, guides, and webinars to help you improve your selling strategy.
- Flipkart Fulfillment: This service allows you to store your products in Flipkart’s warehouses, and they handle the shipping and delivery for you.
Conclusion
Selling on Flipkart is a lucrative opportunity for businesses looking to expand their reach and grow their sales. By following the steps outlined in this article, you can easily register, log in, and manage your Flipkart seller account. Utilize the tools and resources provided by Flipkart to improve your product listings, track orders, and optimize your sales performance.
Whether you’re a small business or an established brand, Flipkart offers a platform where you can reach millions of customers and take your business to the next level.